
There’s a very specific kind of pain in Minecraft.
You finally craft the “good” pickaxe. You name it. You take it everywhere. It becomes your identity. And then—after one long mining trip, one messy cave fight, one accidental fall into a lava-adjacent panic—your favorite tool starts blinking red durability like it’s begging for mercy.
Day 13 is where that anxiety dies.
Because today you don’t just “get Mending.” You guarantee Mending. Then you combine it with Unbreaking + Efficiency using an anvil strategy that keeps XP costs sane… and you walk away with gear that basically refuses to stay broken.
This is the day your world upgrades from “survival” to “maintenance-free momentum.”
Day 13 Objectives
- Lock a Mending Librarian permanently (no luck, no guessing)
- Set up an Anvil corner and learn the “cheap combine order”
- Create at least one core item: a forever pickaxe (Mending + Unbreaking, ideally Efficiency)
- Build a repeatable XP routine that “charges” Mending quickly
- Start your “immortal armor” core: Protection + Unbreaking + Mending

1) What Mending Really Does (And Why It’s the Biggest Power Spike)
Mending repairs your item’s durability using XP you collect. That’s it. But the implications are enormous:
- Your best tools stop being disposable
- Your best armor stops being “one bad night away” from breaking
- Your progress stops being slowed by repairs and replacements
Mending turns XP into durability. Once you control XP, you control time.
Day 13 is about control.
2) The Three Ingredients of “Immortal Gear”
Mending alone is strong. But “immortal gear” is a trio:
- Mending — repairs with XP
- Unbreaking III — reduces durability loss dramatically
- Efficiency / Protection / Sharpness — makes the item worth repairing forever
Think of Unbreaking as “less damage taken,” and Mending as “auto-heal.” Together, they’re ridiculous.
3) Before You Hunt Mending: Prep the Two Bottlenecks
Most players “find Mending” and then fail to lock it because they’re missing one of these:
- Emeralds 💚
- Books 📚
So today starts with a quick readiness check.
Emerald Readiness ✅
Have at least 30–60 emeralds available before you commit. You can do it with:
- Farmer crop trades (steady)
- Fletcher stick trades (burst)
- Librarian paper trades (clean)
Book Readiness ✅
Books require:
- Paper (sugar cane)
- Leather (cows)
Day 13 rule: don’t start rerolling librarians with “maybe I can afford it.” Start with “I can lock it right now.”

4) The Guaranteed Mending Method (Lectern Reroll)
This is the clean, repeatable method. No myths. No vibes.
Step-by-step ✅
- Put an unlocked villager into a pod/stall
- Place a Lectern so only that villager can claim it
- The villager becomes a Librarian
- Open trades and check the first enchanted book
- If it’s not Mending: break the lectern
- Place the lectern again → trades reroll
- Repeat until you see Mending
- The instant you see it: trade once to lock 🔒
Critical warning: If you trade even once before seeing Mending, you might lock trash forever. Never “test trade.” Only lock when you win.
When Reroll “Doesn’t Work” (Fast Fixes) 🧯
- Trades won’t change: You already traded and the villager is locked. You need a different villager.
- Villager won’t claim lectern: Another lectern/workstation nearby is being claimed—remove extras and isolate the pod.
- It’s slow or inconsistent: Make sure it’s daytime and the villager can path to the workstation.
5) What to Lock After Mending (Your Second Pillar)
Once Mending is locked, you want one more “pillar book” to pair with it.
Best targets:
- Unbreaking III (the durability multiplier)
- Efficiency IV/V (your pickaxe becomes a machine)
- Protection IV (your armor becomes a wall)
If you can lock just Mending + Unbreaking III today, you have effectively beaten early-game tool anxiety forever.
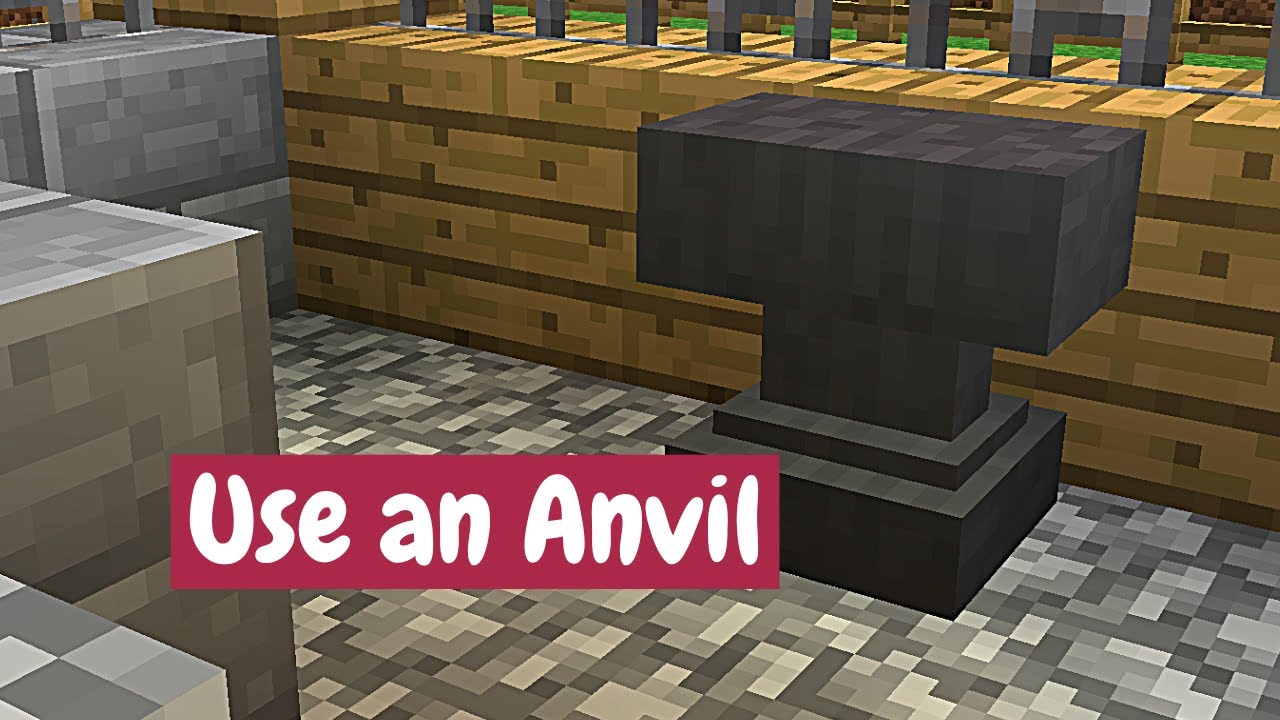
6) Anvil Strategy: How Not to Pay “Too Expensive”
Here’s where most players waste XP: they slam books onto gear in a random order until the anvil says Too Expensive!
The goal is to keep anvil costs low by combining wisely.
The Golden Rule ✅
Combine books together first (when it makes sense), then apply the “final book” to the tool.
Why? Because each anvil use increases the “prior work penalty.” Fewer anvil hits = lower long-term cost.
Practical Example: The Forever Pickaxe ⛏️
Ideal pickaxe books:
- Mending
- Unbreaking III
- Efficiency IV/V
Safer cost flow:
- Combine Unbreaking + Efficiency into one book (if you have both)
- Apply that combined book to the pickaxe
- Apply Mending last (or first—both can work; the key is fewer total operations)
Don’t obsess over “perfect theory.” The practical win is: avoid 5+ separate anvil hits on the same item.
Day 13 pro tip: If you’re unsure, do fewer merges on the tool itself. Merge books first.

7) What to Upgrade First (The Day 13 Priority Order)
You might be tempted to slap Mending on everything immediately. Resist that. Spend smart.
Priority #1: Pickaxe ⛏️
Your pickaxe is your economy. It creates:
- iron and coal
- redstone resources later
- building material at scale
Minimum forever pickaxe: Mending + Unbreaking III
Ideal: add Efficiency
Priority #2: Chestplate 🛡️
Most survivability comes from the chestplate. Start the armor core here.
Priority #3: Leggings
Next biggest armor value.
Priority #4: Sword / Axe ⚔️
Good, but you can win fights with iron while your economy accelerates.
8) The Armor Core: “Immortal” Doesn’t Mean Fancy
For armor, the smartest early approach is simple:
- Protection (general damage reduction)
- Unbreaking III
- Mending
That’s your “core.” You can add specialty later:
- Feather Falling (boots)
- Respiration / Aqua Affinity (helmet)
Day 13 armor goal: core first, fancy later. Core is what stops deaths.

9) Mending Needs XP: Build a Repeatable “Charge” Routine ⚡
Mending feels magical only when you have XP flowing. Day 13 is where you stop “randomly getting XP” and start charging gear on demand.
Easy XP Sources (No Big Farm Required)
- Furnace XP Bank 🔥Smelt a lot (iron, gold, food), then collect outputs in one big payout.
- Quartz Mining in the Nether ⚪Quartz gives great XP and is easy to farm once you’re safer in the Nether.
- Trading XP 💚Villager trading gives small but steady XP—perfect for topping off repairs.
- Animal Breeding + Harvest Routine 🌾Small XP, but constant, and it supports your emerald engines too.
The “Charge Method” (How to Repair What You Want)
- Want to repair a tool? Hold it in your hand when collecting XP.
- Want to repair armor? Wear it while collecting XP.
- Want to prioritize one item? Temporarily remove other Mending items so XP funnels into the one you care about.
Day 13 secret: Mending is not passive. You aim XP like a laser.

10) Optional Upgrade: XP Bottles via Cleric (Emerald → XP → Repairs)
Once your Trading Hall is healthy, you can add a Cleric villager. In later trade tiers, Clerics can sell XP bottles.
That creates a ridiculous loop:
- Sell crops/sticks → emeralds
- Buy XP bottles → XP
- XP repairs Mending gear
This is literally “money buys durability.” It’s endgame energy in early survival.
You don’t need this today, but it’s a perfect “next upgrade” once you’re comfortable.
11) The 7 Most Common Day 13 Mistakes (And How to Avoid Them)
- Mistake: Rerolling librarians with no emeralds/booksFix: Prep first. Lock instantly when you hit Mending.
- Mistake: Accidentally trading and locking a bad librarianFix: Don’t click trade until it’s the book you want.
- Mistake: Applying books randomly until anvil costs explodeFix: Merge books first; reduce the number of anvil hits on the tool.
- Mistake: Putting Mending on “everything” immediatelyFix: Pickaxe first, then chestplate/leggings.
- Mistake: Expecting Mending to work without XPFix: Build a repeatable XP routine (furnace bank or quartz loop).
- Mistake: Letting workstations mix in your hallFix: Pods. One villager, one workstation, always.
- Mistake: Carrying multiple Mending items while trying to repair oneFix: Remove the others so XP funnels correctly.

Day 13 Checklist
- [ ] Mending Librarian found and locked 🔒
- [ ] Emerald + book supply stable (no “can’t afford” moments)
- [ ] Anvil corner placed and ready
- [ ] First “forever pickaxe” created (Mending + Unbreaking minimum)
- [ ] Armor core started (Protection/Unbreaking/Mending path)
- [ ] XP routine chosen (furnace bank or quartz or trading)
Day 13 Is the End of Tool Anxiety
When Mending is locked, everything becomes calmer. You stop hoarding iron tools “just in case.” You stop saving diamonds for emergencies. You stop avoiding risky exploration because “what if my gear breaks?”
Your gear becomes an investment that pays you back daily—because it repairs itself.