Day 10 is the moment your world changes.
Up to this point you’ve been building systems: food, iron gear, enchanting prep, Nether access, brewing. Now you cash those systems in for a single outcome:
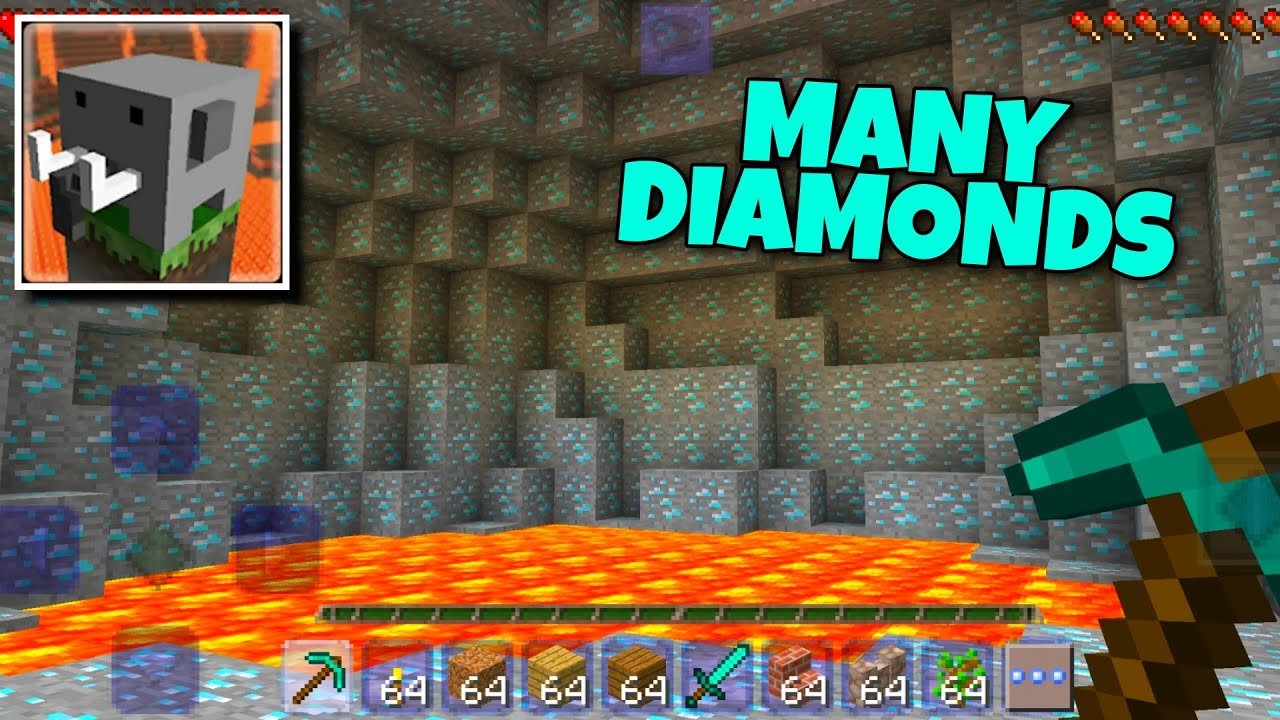
Diamonds. Not “I found one vein.” Real, repeatable diamond progress—plus the upgrades that make deaths rare instead of routine.
This guide is a full Day 10 blueprint: where to mine, how to branch mine efficiently, how to avoid the classic diamond disasters (lava, creepers, cave ambushes), and what to craft first so your diamond investment turns into a near-“immortal” survival setup.
Day 10 Objectives
- Set up a safe branch mining route you can repeat
- Bring home enough diamonds for meaningful upgrades (not just 2–3)
- Upgrade your gear in the correct order (pickaxe first, always)
- Create a “don’t die” kit: shield + water bucket + strong food + core enchants
- Leave your base with confidence instead of fear

1) Why Branch Mining Beats “Random Cave Luck” 🎯
Yes, caves can be amazing. But caves are also chaotic: unpredictable mobs, vertical drops, lava lakes, and endless branching paths.
Branch mining wins because it maximizes the number of blocks you “scan” in a controlled, repeatable layout. It’s not gambling—it’s math.
Day 10 mindset: reduce randomness, increase visibility.
2) The Day 10 Mining Loadout (Non-Negotiable)
- Shield 🛡️
- Water bucket 🪣 (lava control + fall safety)
- 2 stacks of food 🍗
- Torches (at least 64) 🔥
- Blocks (1–2 stacks) 🧱
- Iron pickaxe + spare (or diamond if you already have)
- Iron armor minimum (diamond pieces if you already upgraded)
If you have potions from Day 9, bring:
- Fire Resistance (optional but insanely good) 🔥🧪
- Night Vision (makes mining smoother) 👁️
3) Where to Mine for Diamonds (Practical, Not Painful) 📍
The best mining “layer” can vary by version, but the modern approach is consistent:
- Mine at deep levels where diamonds are common
- Avoid huge open lava lakes as your main route
- Prefer controlled tunnels over chaotic caves when you’re optimizing
Simple rule: if your mining route constantly exposes you to lava falls and surprise mobs, it’s not a “diamond route.” It’s a death route.

4) The Branch Mining Layout (Fast, Safe, Repeatable) ⛏️
This is the classic layout that works for most players:
- Build a main tunnel (2 blocks high, 1–2 wide)
- Every 3–4 blocks, dig a side branch
- Each branch can be 20–30 blocks long
- Return to main tunnel, repeat
Why spacing matters: You want your side branches to “cover” the space between them so you see as many blocks as possible with minimal digging.
Safety lighting rule ✅
- Main tunnel: torch every 6–8 blocks
- Branch entrance: double torch (so you never miss it)
5) The Diamond Protocol (Do This Every Time) 💎
Diamonds don’t kill you. Lava under diamonds kills you.
Use this protocol before breaking any diamond ore:
- Clear around the ore (front, sides, and back)
- Check beneath the ore for lava
- Place blocks or water if needed
- Then mine
Never mine diamonds the moment you see them. First you “disarm” the trap.
6) Lava Control: Water Bucket Is Your Superpower 🪣
Water bucket uses in mining:
- Turn lava into obsidian/cobble safely
- Create quick “lava walls” to stop flows
- Save yourself from falls (MLG water, if you practice)
If you brought Fire Resistance, you can treat lava like a hazard instead of a death sentence—but don’t get sloppy.

7) What to Craft First (Best Diamond Upgrade Order) 📈
Diamonds are expensive early. Spend them smart.
Priority order (recommended) ✅
- Diamond Pickaxe ⛏️ (unlocks obsidian mining, speeds everything)
- Diamond Armor (Chestplate) 🛡️ (biggest survivability spike)
- Diamond Armor (Leggings)
- Diamond Sword ⚔️ (nice, but not as urgent as survival tools)
- Helmet/boots (upgrade later)
If you already have a diamond pickaxe, your next best “value per diamond” is usually chestplate + leggings.
Pickaxe first is the rule because it unlocks future systems (obsidian, enchanting paths, Nether upgrades later).
8) The “I Don’t Die Anymore” Kit (Core Survival Stack) 🧰
This is the kit that makes random deaths rare:
- Shield (skeletons stop being scary)
- Water bucket (lava + falls become manageable)
- Strong food (regen stays online)
- Torches (no dark spawns behind you)
- Core enchants (even basic Unbreaking/Protection helps)
If you can add potions:
- Fire Resistance for deep mining / Nether routes
- Night Vision for smoother cave work
9) Quick Enchant Targets (Don’t Overthink It) ✨
If you already set up enchanting, aim for these simple early upgrades:
- Pickaxe: Efficiency + Unbreaking
- Armor: Protection
- Sword: Sharpness
Even mid-tier versions of these enchants make a noticeable difference.

10) Common Diamond-Mining Mistakes (And Fixes)
- Mistake: Mining straight down
Fix: Staircase or controlled tunnels only. - Mistake: Mining diamonds instantly
Fix: Use the diamond protocol (clear + check below). - Mistake: Not bringing enough torches
Fix: Torch stack target: 64+ every run. - Mistake: No water bucket
Fix: Bucket is mandatory at this stage. - Mistake: Spending diamonds on “nice-to-have” early
Fix: Pickaxe + chestplate/leggings first.
Day 10 Checklist ✅
- [ ] Branch mining main tunnel established and lit
- [ ] Diamond protocol used (no lava losses)
- [ ] Diamond pickaxe crafted (or already owned)
- [ ] Key armor upgrades started (chestplate/leggings)
- [ ] “Don’t die” kit assembled (shield + bucket + food + torches)
- [ ] Returned home with diamonds safely stored
Day 10 Turns Survival into Momentum 💎
Once diamonds become a system instead of a lucky moment, everything accelerates: enchanting, Nether prep, endgame progression, and long exploration runs. Day 10 is the pivot point where you stop reacting and start building momentum.